So since I have so much time before my wedding I’m constantly thinking of more things I can make to add personal touches to my wedding, I’m sure by the time the day comes around I’m going to have 862 boxes full of stuff for my poor decorator to put out haha lucky I just started school and don’t have as much time any more to sit around and think of things to do. But, I do have time to occasionally craft- yay! So, I’ve recently made a mason candle jar and it was really easy.
Step 1: Get a jar!
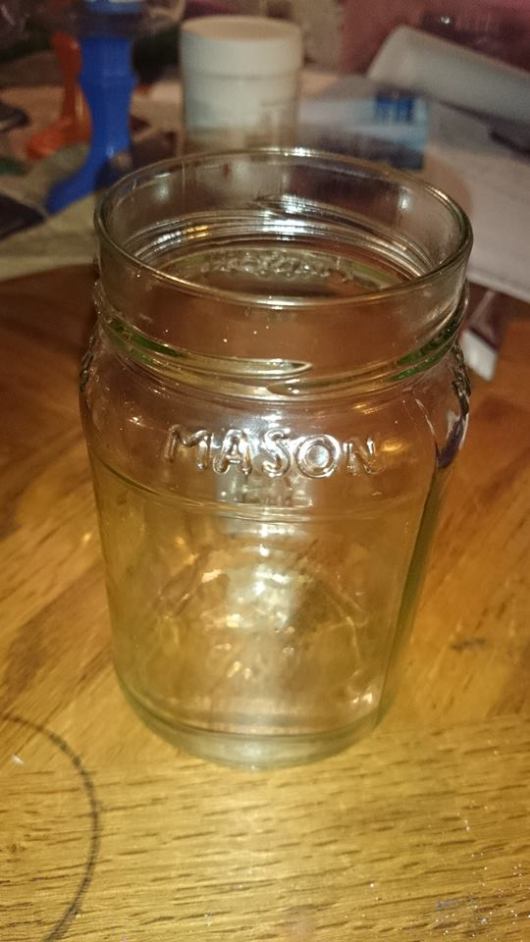
This one was actually from pasta sauce, I washed out the inside, took the label off and washed it (I needed to use Goo Gone and dish soap to get it all off) Just make sure it’s clean.
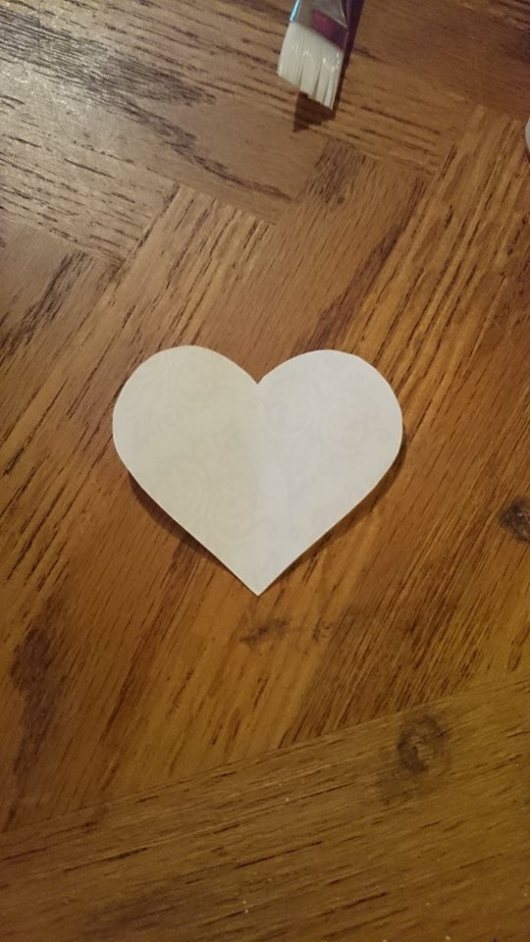
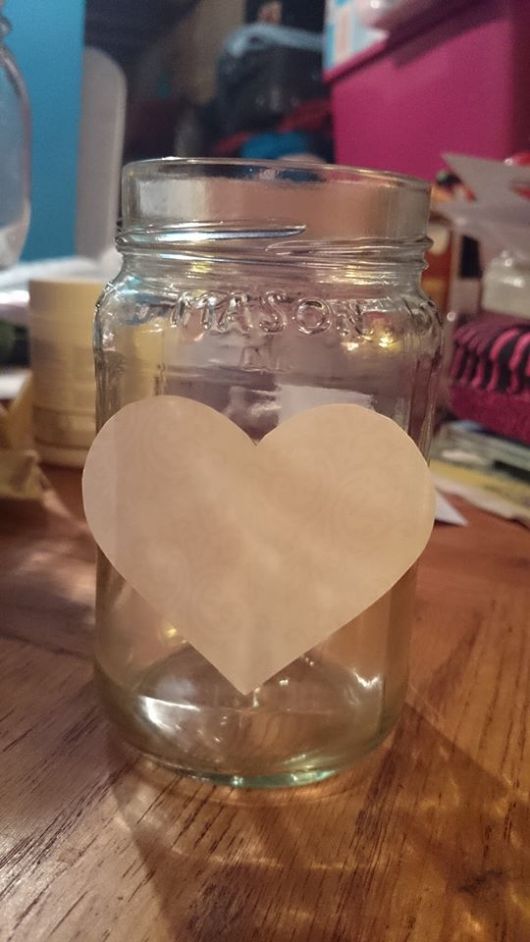
Step 2: Decide what decoration you’re going to put on it, I picked a heart because it’s for my wedding. I used my heart shaped sticky notes…
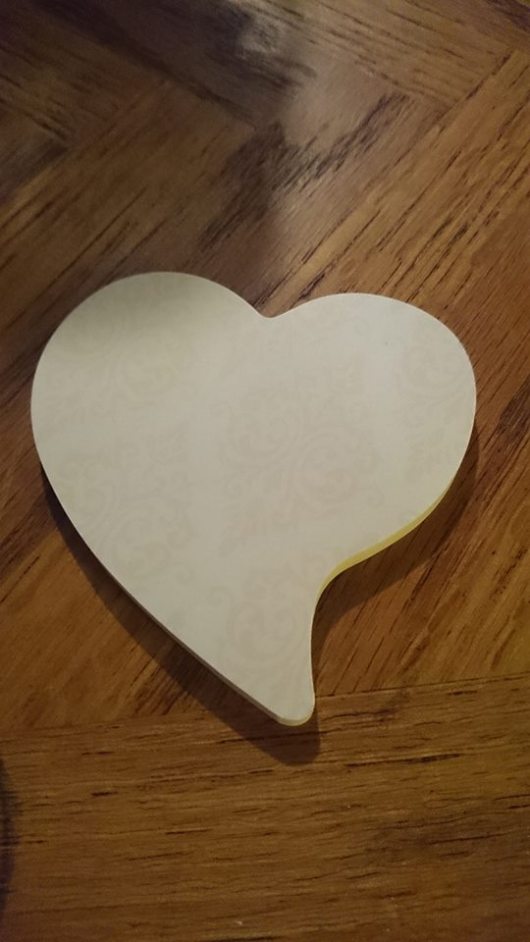
and cut them into a different heart shape…
Step 3: Put your decoration on the jar. Since mine was a sticky note already it was easy, but I recommend using double sided tape and covering the back of your decoration to hold it on the jar.
Step 4: Select your paint! I used pink because it’s my favourite colour and it’s one of the colours in my wedding.
I’ll post a pic of the paint I used even though the label is pretty mangled…
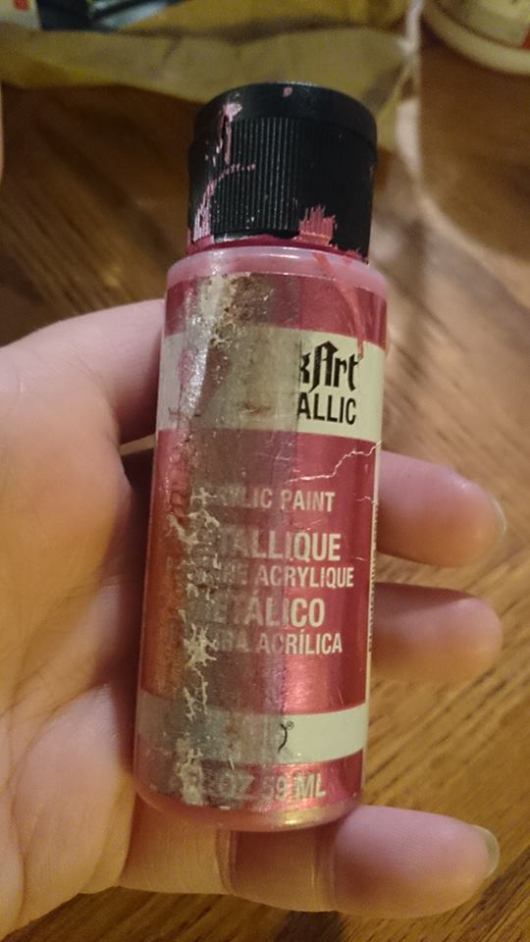
It’s Folk Art Metallic Acrylic Paint in Rose Shimmer (652)
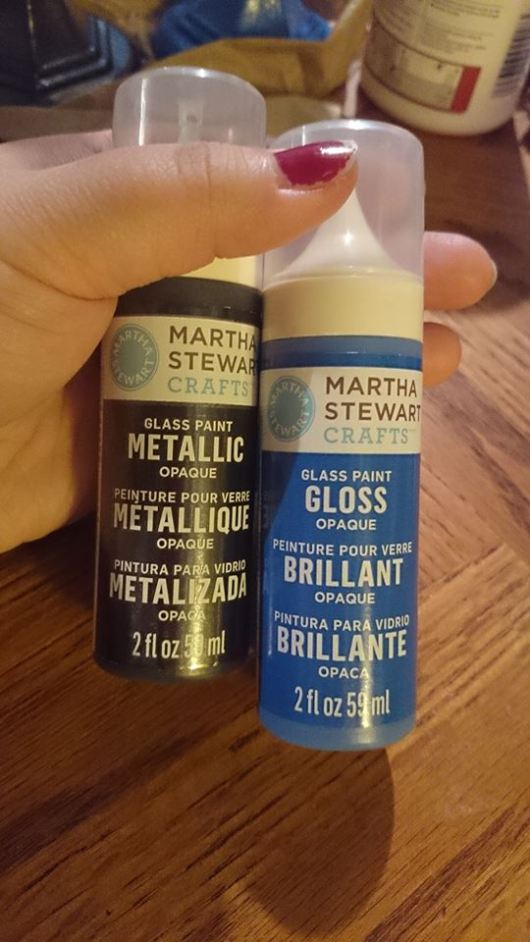
Other paints I recommend are any glass paints, the only ones available in my city were Martha Stewart’s glass paints. I got them from Michael’s Crafts and they were kind of pricey (I bought them for a different glass painting project) But here’s what they look like…
Now, you’ll notice one is metallic and one is gloss. For a project that is going to have light in it I highly recommend one of those and for this particular project one that is opaque. However, if you want the whole thing to look kinda glowy, these paints do come in transparent, translucent, pearl, and frost. They also come in a variety of sparkle and shimmer paints, too. It’s your project, and the options are limitless so really, have fun with it and let me know how it goes! I’d love it see. Any way, moving on….
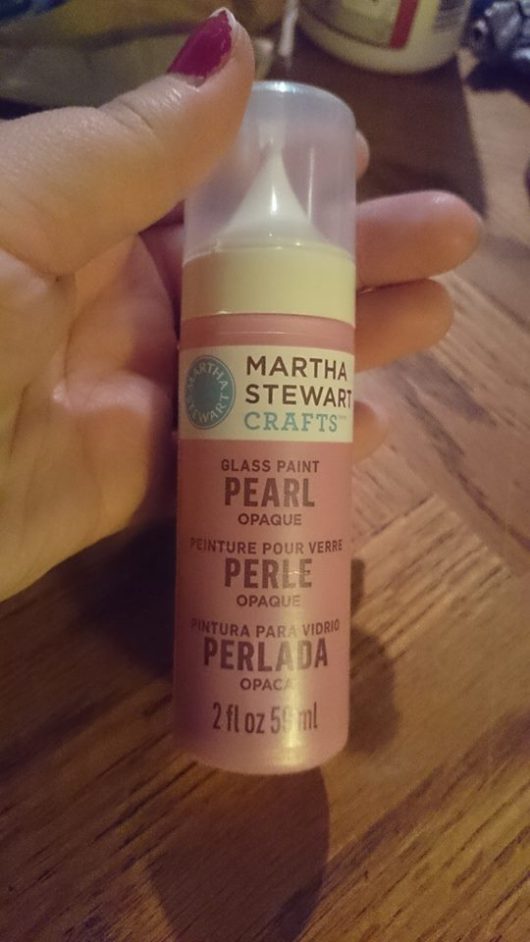
For this particular project, if you just want the light to shine to the empty spot where your decoration is, I do not recommend using the Pearl paint..here’s what it looks like…
It does look great on other glass projects that wont have light shining through them though.
Step 5: Paint! Find a paint brush, put down some paper and got at ‘er!
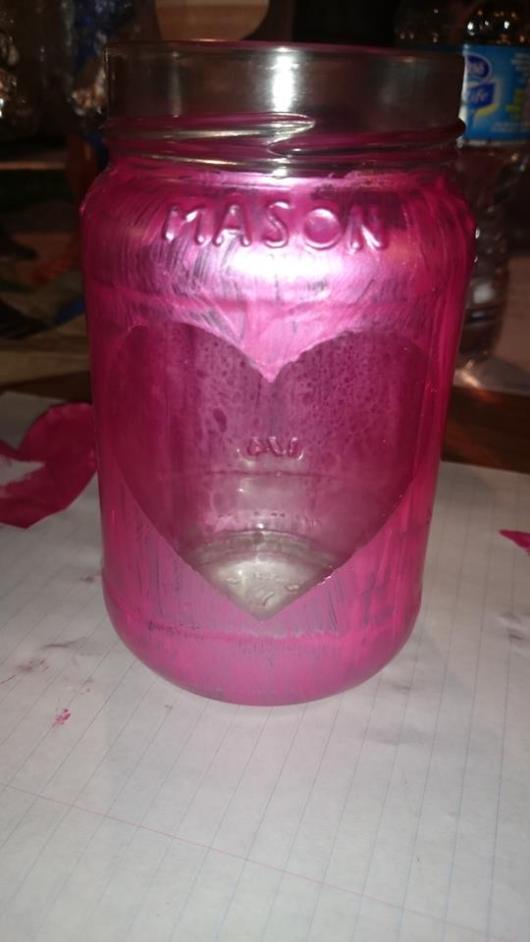
Here’s my jar after one coat with my heart sticky taken off.
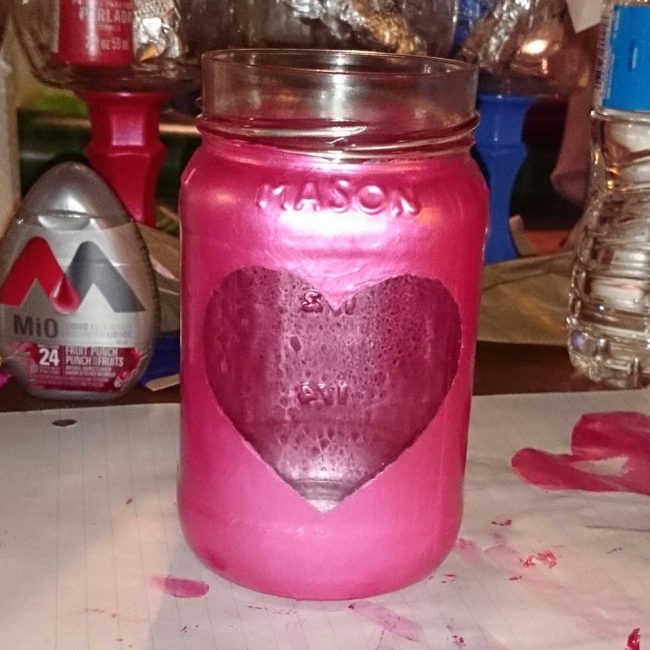
You can put as many coats on it as you want to achieve the look you’re after. What I did to test it was use the flashlight on my phone and I shined it through the top to see what it looked like. Keep in mind, a candle, will not be as bright as a flashlight, so if you can see your crush strokes or can still see through it a little, it may not matter so much. If you’re really concerned, you can get one of those long BBQ/Candle lighters, hold it in the middle and light it up to see what it looks like, if you’re happy with how it looks, you can stop painting haha I did 3 coats and this is what it looks like…
The little spots on the heart is from dirty water, I used a smaller paintbrush to touch up the heart after each coat where paint may have gotten on it since my sticky wasn’t totally flush with the jar. But once it’s dry and clean it should be fine. My painting recommendation is to paint in opposite directions for every coat, by that I mean, the first coat I did was vertical, second coat was horizontal and the third coat was vertical again. I think you just get better coverage that way.
Step 6: Top coat. Just like painting nails, your painting projects need a top coat. I don’t have a picture of what I’m going to use because I haven’t bought it yet haha but you can get clear, top coat spray paints. You can also get what’s called Mod Podge, just make sure it’s clear. Both of those should work, if you’re concerned about applying mod podge and taking some of your paint off, use the clear spray paint- just DO NOT get any of the paints INSIDE the jar as they are FLAMMABLE and you don’t want to start yourself or anything else on fire!! You don’t have to use my two suggestions, use whatever you’d like as long as it’s a clear top coat that can be used on glass.
So that’s all there is to it! The longest part of this project, for me, was getting the heart just right and waiting for the paint to dry. These jars look great in your house, make great gifts or, like what I’m doing, will look cute as a wedding decoration 🙂
This project can be done on any jar or glass that you want to put a candle or lights in. Get creative and have fun!
Don’t forget to comment if you liked this project, didn’t like it, have questions or whatever. Also, if you did this craft post a pic because I want to see what you’ve done with it!!
– Blondie ♥
Recent Comments